Bootstrap Header Usage
Intro
Like in set files the header is one of the highly crucial components of the web pages we create and receive to operate regularly. It securely keeps probably the most crucial info on the identification of the establishment or else person responsible for the web page in itself and the importance of the whole site-- its own navigation structure which in addition to the Bootstrap Header Class itself must be thought and crafted in this sort of means that a website visitor in a rush or certainly not actually having an idea which way to head to simply take a view at and get the wanted information. This is the optimal instance-- in the real life making as close as feasible to this visual appeal and activity additionally proceeds due to the fact that we nearly every moment have some project particular limits to think of. Additionally compared to the written documentations around the world of cyberspace we ought to always remember the range of attainable gadgets on which our web pages could potentially get presented-- we ought to make sure their responsive attitude or to puts it simply-- make certain they will present ideal at any display screen size attainable.
And so let us look and see just how a navbar gets built in Bootstrap 4. ( useful reference)
Ways to employ the Bootstrap Header Template:
First to create a web page header or else because it gets referred to in the framework-- a navbar-- we need to wrap the whole item in a
<nav>.navbar.navbar-toggleable- ~ screen size ~.bg-*.navbar-light.navbar-lightWithin of this parent element we must initiate by applying a tab component which in turn shall certainly be operated to feature the collapsed information on a smaller screen sizes-- to complete that make a
<button>.navbar-toggler.navbar-toggler-left.navbar-toggler-righttype = " button "data-toggle ="collapse"data-target = " ~ the collapse element ID ~What is actually bright new for newest alpha 6 release of the Bootstrap 4 framework is that within the
.navbar-togler<span>.navbar-toggler-icon<a>.navbar-brand<div class="img"><img></div>Now-- the essential part-- designing the collapsible container for the primary web site navigating-- to accomplish it make an element using the
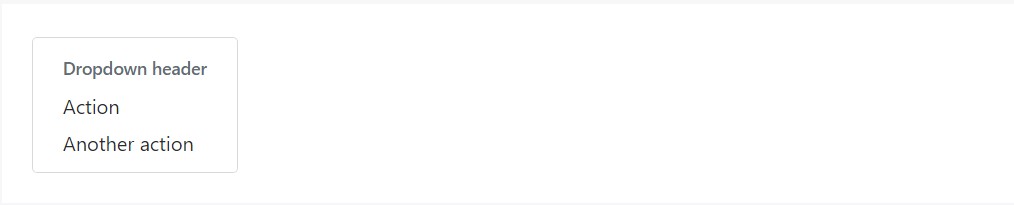
.collapse.navbar-collapseid =" ~ same as navbar toggler data-target ~ ".collapse<ul>.navbar-nav<ul><li>.nav-item<a>.nav-link.nav-item.nav-link.nav-item.dropdown<li>.dropdown-toggle.nav-link.nav-item<div>.dropdown-menu.dropdown-itemRepresentation of menu headers
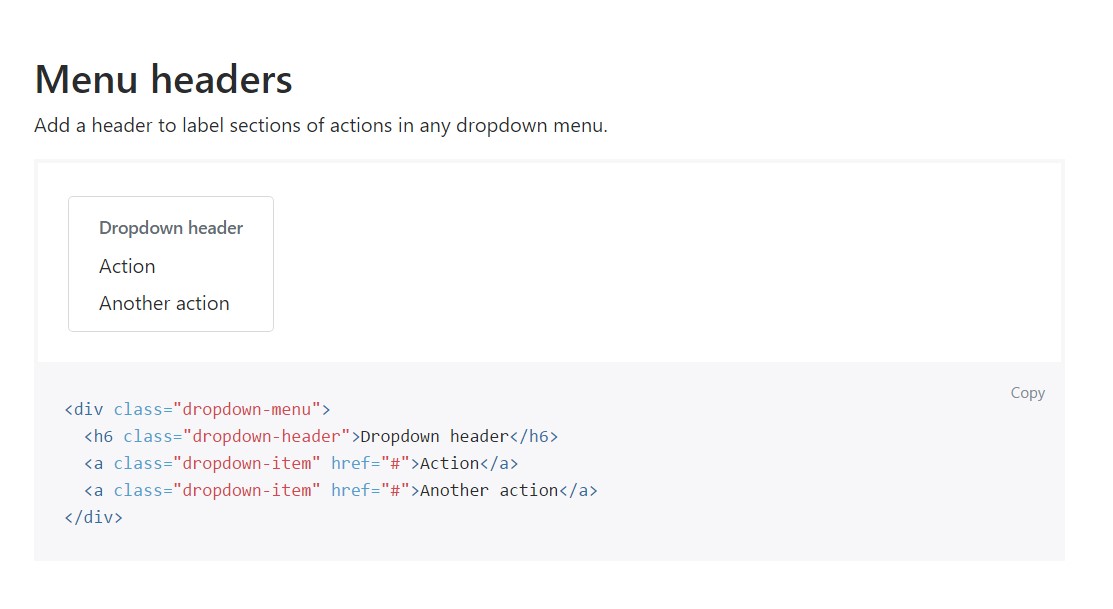
Incorporate a header to label areas of activities in any dropdown menu.
<div class="dropdown-menu">
  <h6 class="dropdown-header">Dropdown header</h6>
  <a class="dropdown-item" href="#">Action</a>
  <a class="dropdown-item" href="#">Another action</a>
</div>
Other opportunities
Another brand-new factor for this version is the possibility to set an inline forms in your
.navbar.form-inline<span>.navbar-textFinal thoughts
The moment it involves the header parts in the current Bootstrap 4 edition this is being actually taken care of with the integrated in Collapse plugin and various navigation specified web content classes-- a number of them built primarily for preventing your label's uniqueness and various other-- to get certain the actual page navigational system will feature best collapsing in a mobile phone style menu when a specified viewport size is accomplished.
Take a look at some online video tutorials relating to Bootstrap Header
Related topics:
Bootstrap Header: official documentation
Bootstrap Header short training
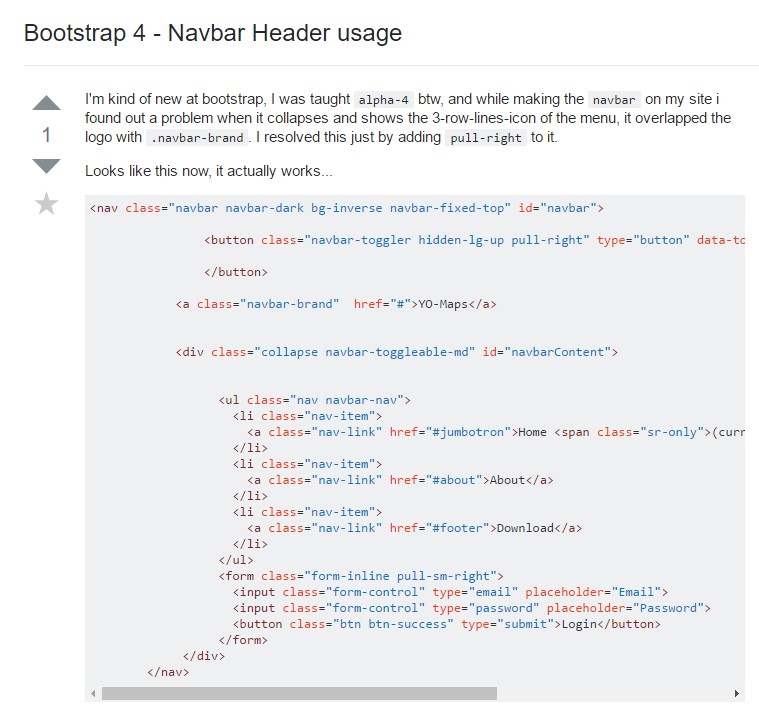
Bootstrap 4 - Navbar Header application